Contribute code to a GLAM Workbench repository
If you want to improve the GLAM Workbench's Jupyter notebooks, or add new notebooks to an existing repository, you can contribute your code by setting up a local development environment.
Setting up your local environment
I use pyenv, pyenv-virtualenv, and pip-tools to create and manage Python versions and environments. If you prefer other tools for managing Python environments, adjust the steps below as required.
GLAM Workbench repositories currently use Python 3.10.12, but later versions should be ok. You can install multiple Python versions using pyenv:
pyenv install 3.10.12
Click on the repository's green Code button and copy the web url used for cloning.
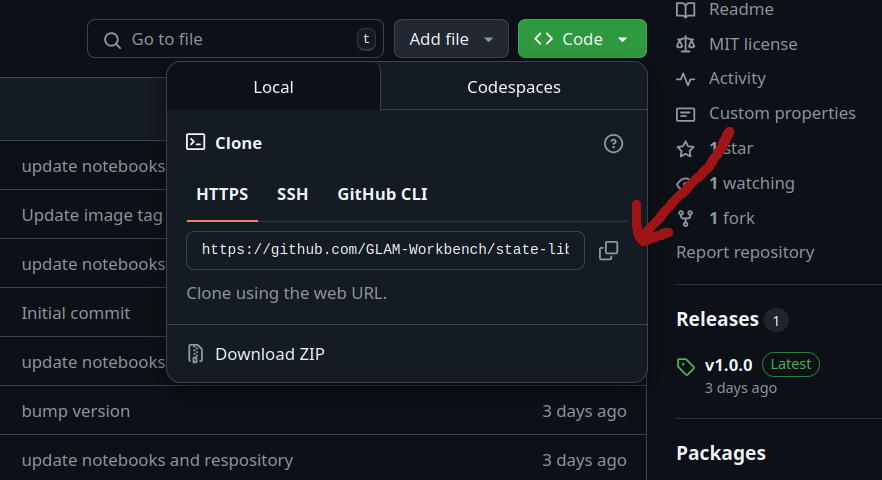
In a terminal, use git clone command to create a local version of the GLAM Workbench repository:
git clone https://github.com/GLAM-Workbench/[REPO NAME].git`
For example:
git clone https://github.com/GLAM-Workbench/state-library-victoria.git`
Use cd to move into the newly-cloned folder:
cd [REPO NAME]
For example:
cd state-library-victoria
Create and activate a Python virtual environment (I find it easiest to name the environment after the repository):
pyenv virtualenv 3.10.12 [YOUR ENVIRONMENT NAME]
pyenv local
For example:
pyenv virtualenv 3.10.12 state-library-victoria
pyenv local
Install pip-tools in the new virtual environment:
pip install pip-tools
If you undertaking development work, you probably want to install the latest versions of the required Python packages. First delete the old requirements.txt file and create a new one using pip-compile.:
rm requirements.txt
pip-compile requirements.in
Repeat this for dev-requirements.in to add the additional packages necessary for local development:
rm dev-requirements.txt
pip-compile dev-requirements.in
Install all the required packages using pip-sync:
pip-sync requirements.txt dev-requirements.txt
Set up the Git pre-commit hooks. These do some testing and linting of the notebook code when you add new commits.
pre-commit install
Running Jupyter Lab
- On the command line, run
jupyter lab– to start Jupyter. - A browser window should open automatically. If not, copy and paste the url from the command line to your web browser.
- Make your changes!
- To shut down your Jupyter Lab session hit Ctrl+C.
Uploading your changes
- Don't forget to add your details to the
creatorssection of the.zenodo.jsonfile. This will ensure you're added as an author to the next released version uploaded to Zenodo. (I'm planning to automate this process in the future.) - On the command line, use
gitto add and commit your changes. - On the command line, use
git pushto upload your changes to your forked repository. - Use the GitHub web interface to create a pull request from your forked repository to the original GLAM Workbench repository.
Creating a pull request will run a GitHub action that tries to build and cache the repository on Binder. If it works, a comment will be added to the pull request with a button to run your updated version on Binder. This lets you test to make sure things will run as expected on Binder and other cloud services.
Your pull request will be reviewed, and if it all looks good it will be merged into the main repository.
Testing and formatting
I've started adding additional configuration files to repositories to help developers set up semi-automated formatting and testing of notebooks. If the repository you're working with includes files named requirements-dev.txt, pyproject.toml, and .pre-commit-config.yaml then you can follow the steps below to set things up. If the files aren't present, then skip this section.
- On the command line, run
pip install pip-toolsto install pip tools. - On the command line, run
pip-sync requirements.txt requirements-dev.txt– to install the latest versions of required packages - On the command line, run
pre-commit installto set up the Git pre-commit hooks.
For information on how to use these tools, see testing and testing notebooks on the Developing a new repository page.
Adding new Python packages
If you're creating a new notebook, you might need to install some additional Python packages. The process for this is described in the Adding new Python packages section of Developing a new repository. However, not all repositories currently have a requirements.in file, as I'm still updating them to use pip-tools. If this is the case, raise an issue and I'll help you set it up.
Contributors
Contributors will be listed on the site's contributors page.