DigitalNZ
Current version: v1.0.0
DigitalNZ aggregates collections from across New Zealand and makes the aggregated metadata available through an API.
You'll need an API key to work with DigitalNZ data.

Exploring the API
Build a DigitalNZ API search query
This notebook creates a form that you can use to experiment with the DigitalNZ search API.
Getting some top-level data from the DigitalNZ API
This notebook pokes around at the top-level of DigitalNZ, mainly using facets to generate some collection overviews and summaries.
Harvesting data
Harvest facet data from DigitalNZ
This notebook explores what facets are available from the DigitalNZ API and demonstrates how to harvest data from them. It generates a summary of all available facets, as well as saving the full set of values from each facet as a CSV file.
Harvest data from Papers Past
This notebook lets you harvest large amounts of data from Papers Past (via DigitalNZ) for further analysis. It saves the results as a CSV file that you can open in any spreadsheet program. It currently includes the OCRd text of all the newspaper articles.
Visualising collections
QueryPic DigitalNZ
QueryPic helps you explore your search results in Papers Past by showing you how they change over time – aggregating the number of articles matching your query by year.
Visualise a search in Papers Past
Start with some keywords you want to search for in Papers Past, then create a simple visualisation showing the distribution over time and by newspaper.

Papers Past newspapers in DigitalNZ
A subset of the digitised newspapers in Papers Past can be searched through DigitalNZ. Using data from the DigitalNZ API we can look at what's available.
Visualising open collections in DigitalNZ
DigitalNZ's usage facet tells you what you can do with a record. A usage value of 'Use commercially' indicates that the record is 'open', according to the open licence definitions. So by harvesting data from the usage facet, we can explore how much of DigitalNZ is open. This notebook assembles data relating to the usage status of each primary_collection associated with a content_partner. It then attempts to visualise the data in a suitably colourful burst of fireworks!

Tips and tricks
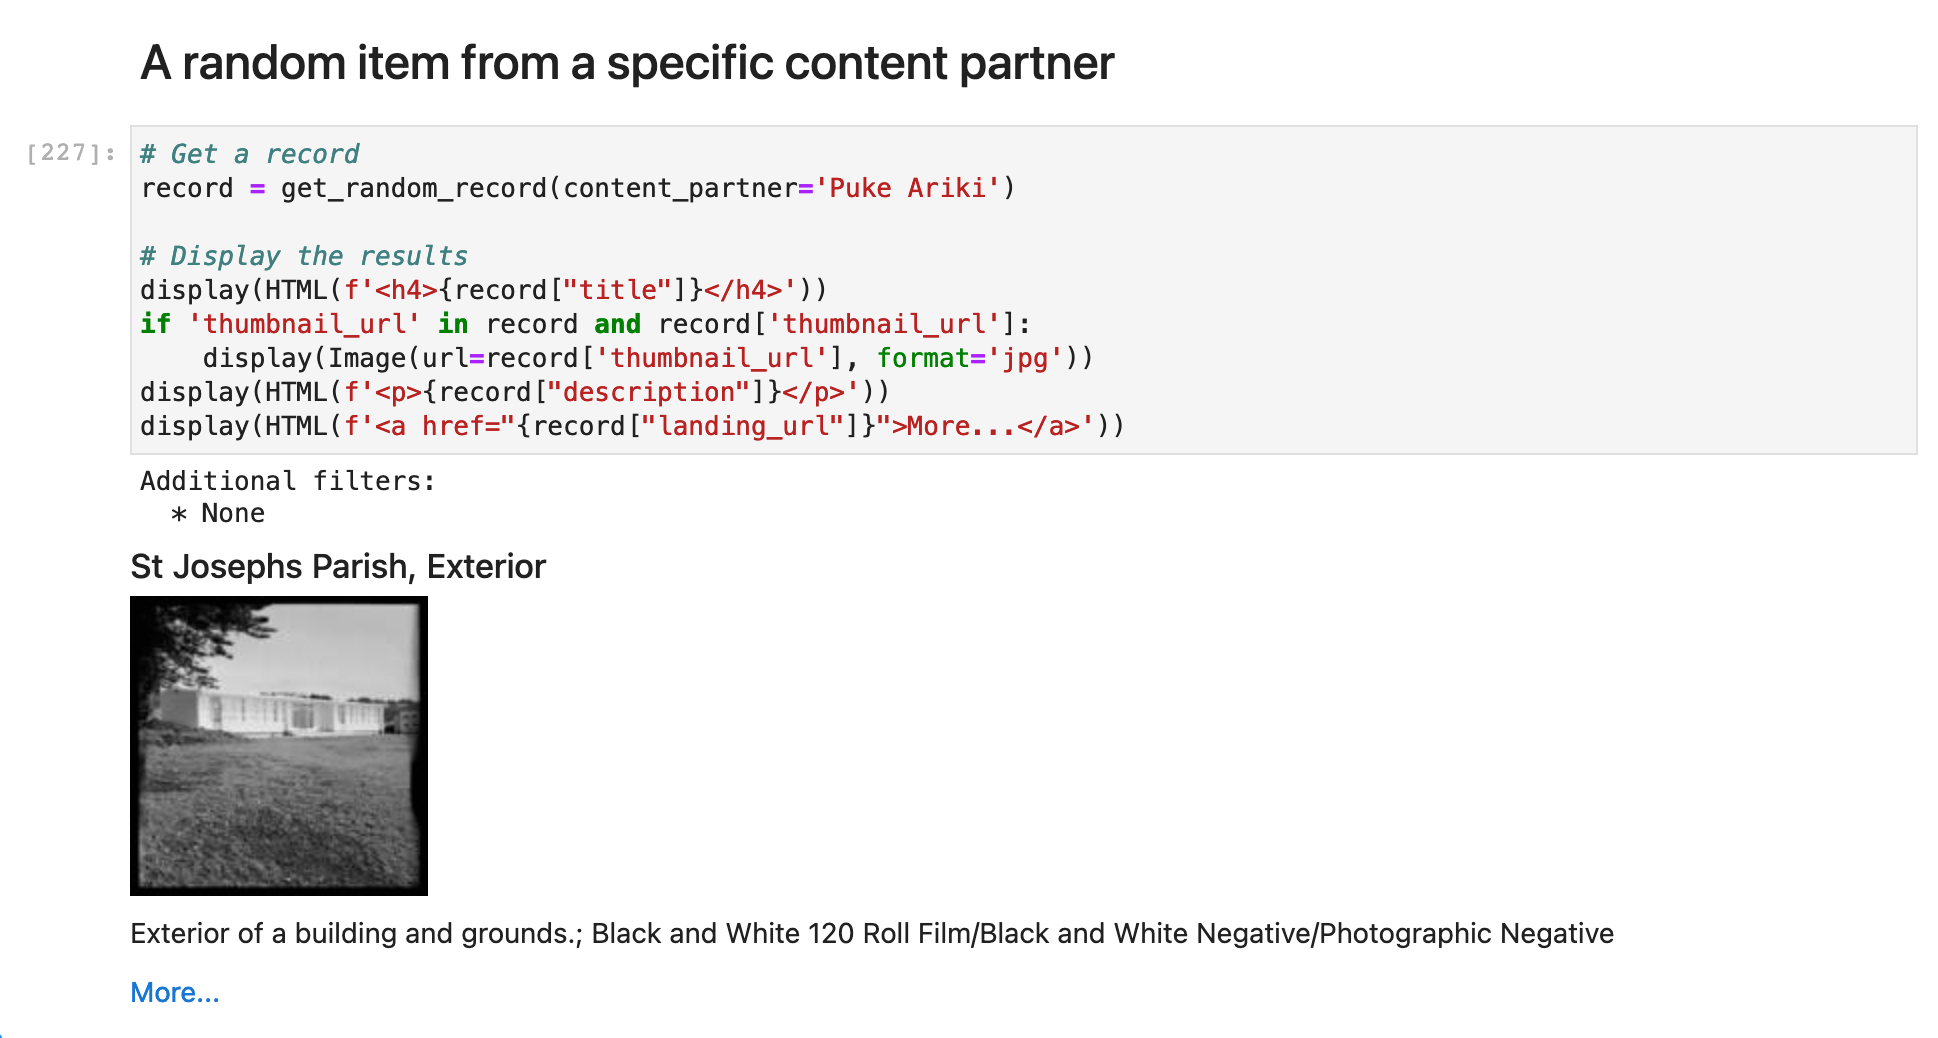
Select a random(ish) record from DigitalNZ
The DigitalNZ API doesn't provide a random sort option. You can jump to a randomly selected page of results, but you can't do any deeper than 100,000 pages into a results set (that's 1,000,000 records if you set the per_page value to 100). So we need to find some way of filtering the results until there's less than 1,000,000, then we can grab a random page and record. This notebook examines the available facets, then uses them to reduce the size of the results set until it's possible to select a random record. It provides a series of examples of retrieving random records using different filters and facets.
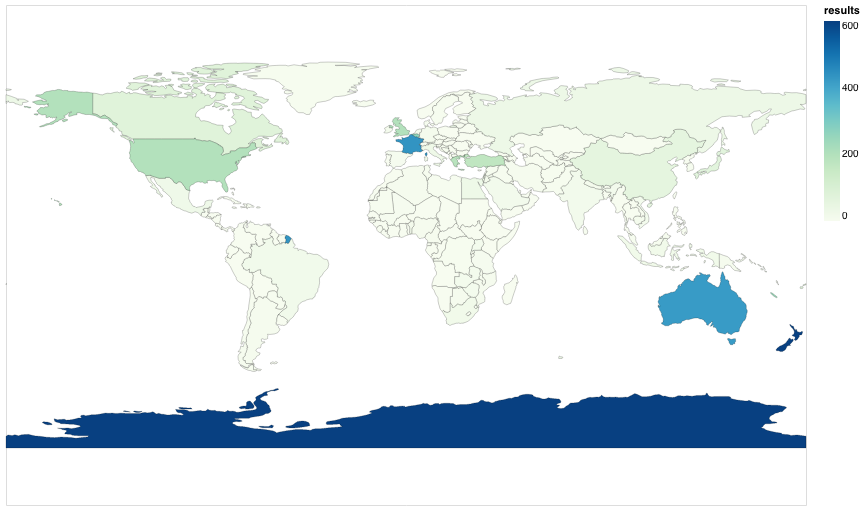
Find results by country in DigitalNZ
Many items in DigtalNZ include location information. This can include a country, but as far as I can see there's no direct way to search for results relating to a particular country using the API. You can, however, search for geocoded locations using bounding boxes. This notebook shows how you can use this to search for countries.
Data
Data harvested from facets
Harvested: 22 January 2021
The repository includes CSV formatted versions of the data harvested from the 'Harvest facet data' notebook above. Of course, if you want to do something with this data, you might want to run a fresh harvest to make sure it's up-to-date. But they're saved here to get an overview of the available facets, and understand the range of values in each.
Summary of facets:
Individual facets:
- collection.csv
- creator.csv
- subject.csv
- format.csv
- placename.csv
- decade.csv
- content_partner.csv
- language.csv
- century.csv
- usage.csv
- rights.csv
- year.csv
- copyright.csv
- dc_type.csv
- category.csv
- primary_collection.csv
Combining content_partner and primary_collection facets:
Combining content_partner, primary_collection, and usage facets (this data was assembled by the 'Visualising open collections' notebook):
Run these notebooks
There are a number of different ways to use these notebooks. Binder is quickest and easiest, but it doesn't save your data. I've listed the options below from easiest to most complicated (requiring more technical knowledge).
Using ARDC Binder

Click on the button above to launch the notebooks in this repository using the ARDC Binder service. This is a free service available to researchers in Australian universities. You'll be asked to log in with your university credentials. Note that sessions will close if you stop using the notebooks, and no data will be preserved. Make sure you download any changed notebooks or harvested data that you want to save.
See Using ARDC Binder for more details.
Using Binder
![]()
Click on the button above to launch the notebooks in this repository using the Binder service (it might take a little while to load). This is a free service, but note that sessions will close if you stop using the notebooks, and no data will be saved. Make sure you download any changed notebooks or harvested data that you want to save.
See Using Binder for more details.
Using Reclaim Cloud

Reclaim Cloud is a paid hosting service, aimed particularly at supported digital scholarship in hte humanities. Unlike Binder, the environments you create on Reclaim Cloud will save your data – even if you switch them off! To run this repository on Reclaim Cloud for the first time:
- Create a Reclaim Cloud account and log in.
- Click on the button above to start the installation process.
- A dialogue box will ask you to set a password, this is used to limit access to your Jupyter installation.
- Sit back and wait for the installation to complete!
- Once the installation is finished click on the 'Open in Browser' button of your newly created environment (note that you might need to wait a few minutes before everything is ready).
See Using Reclaim Cloud for more details.
Running in a container on your own computer
GLAM Workbench repositories are stored as pre-built container images on quay.io. You can run these containers on your own computer to set up a virtual machine with everything you need to use the notebooks. This is free, but requires more technical knowledge – you'll have to install Podman on your computer, and be able to use the command line.
- Install Podman.
- In a terminal, run the following command:
podman run --rm -p 8888:8888 quay.io/glamworkbench/digitalnz jupyter lab --ip=0.0.0.0 --port=8888 --ServerApp.token="" --LabApp.default_url="/lab/tree/index.ipynb" - It will take a while to download and configure the container image. Once it's ready you'll see a message saying that Jupyter Notebook is running.
- Point your web browser to
http://127.0.0.1:8888 - When you've finished, download any files or data you want to keep from Jupyter Lab, and enter Ctrl+C int the terminal.
See Running in a container on your own computer for more details.
Setting up on your own computer
If you know your way around the command line and are comfortable installing software, you might want to set up your own computer to run these notebooks. You'll need to have recent versions of Python and Git installed. I use pyenv, pyenv-virtualenv, and pip-tools to create and manage Python versions and environments.
In a terminal:
- Create a Python virtual environment (Python >= 3.10 should be ok):
pyenv virtualenv 3.10.12 digitalnz - Activate the virtual environment:
pyenv local digitalnz - Use
git cloneto create a local version of the GLAM Workbench repository:git clone https://github.com/GLAM-Workbench/digitalnz.git - Use
cdto move into the newly-cloned folder:cd digitalnz - Run
pip install pip-toolsto installpip-tools. - Run
pip-sync requirements.txt dev-requirements.txtto install the required Python packages. - Start Jupyter with
jupyter lab– a browser window should open automatically. If not, copy and paste the url from the command line to your web browser. - To shut down your Jupyter Lab session enter Ctrl+C in the terminal.
See Using Python on your own computer for more details.
Contributors
Cite as
Sherratt, Tim. (2021). GLAM-Workbench/digitalnz (version v1.0.0). Zenodo. https://doi.org/10.5281/zenodo.5709012
![]()